

The first time I ever went out to shoot as part of a group was Christmas 2018. This was also the first time I’d ever seriously tried street photography anywhere other than outside of the UK.
I wanted to share some of the things I learnt from that first session, and some of the things I’ve developed on since then. This isn’t about the morals of street photography, nor is it about what you should or shouldn’t take photographs of (that’s a WHOLE other type of conversation). Hopefully it’ll help those of you that struggle with shooting in public, in a group, or just want pointers for developing your street photography skills.
Research the area you’ll be in. Luckily, I got to cut my teeth in an area I’d been to a lot before so I knew the layout of the route we’d be walking, and roughly what I’d see on each of the main streets. However, if you’re heading to an unfamiliar area, it’s worth researching before you go. This will help you decide on your timings and how you’re going to structure your session. I usually try to consider a few things when I’m deciding on where to go. How big is the area? What route will you follow? What is the area known for? What, or who, could you expect to see?
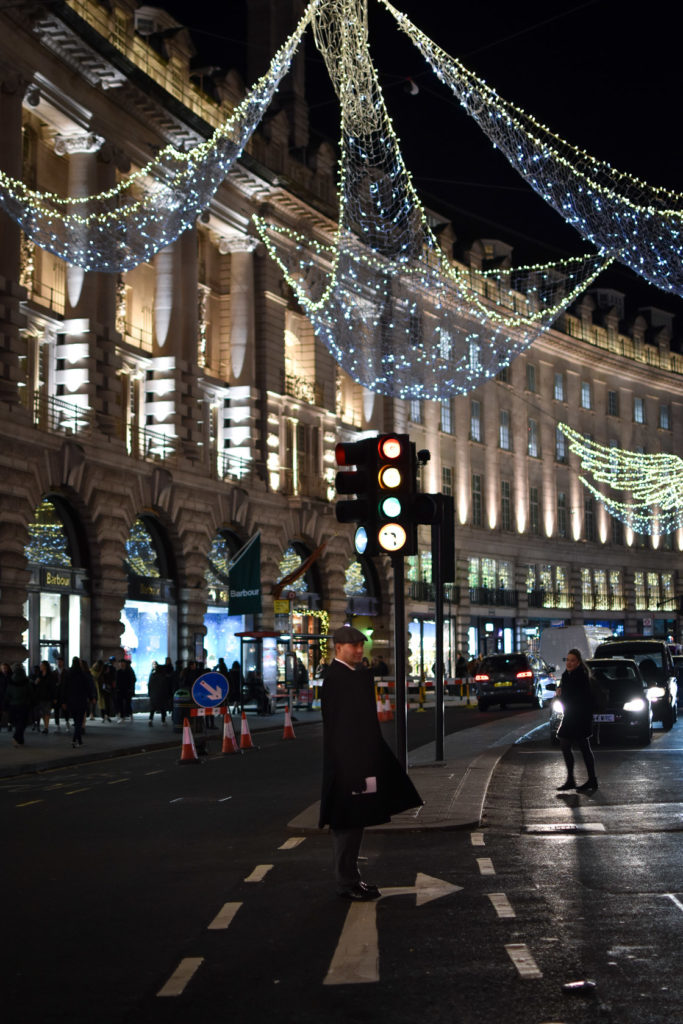
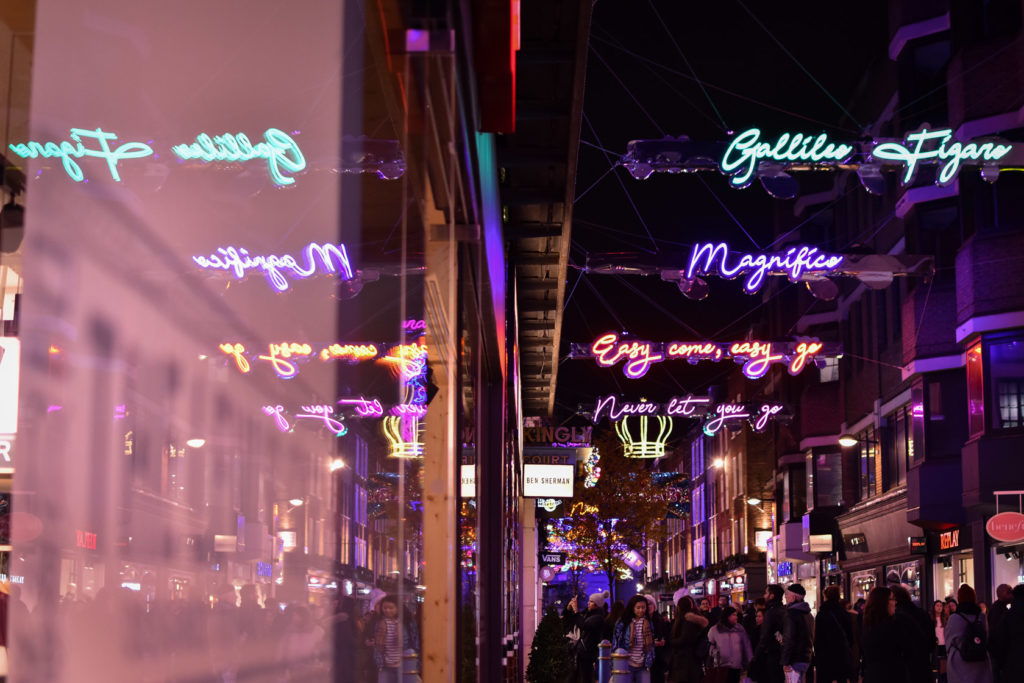
Head to somewhere busy. The main element of street photography is human interaction, and if you’re in an area with few people in it you’re either going to get very empty or awkward shots. Try to stick to areas where you know footfall will be heavier, or aim to head to your desired location when you know an event or gathering will be happening. That could be tourist heavy areas, transport hubs, or aiming for a march or festival.
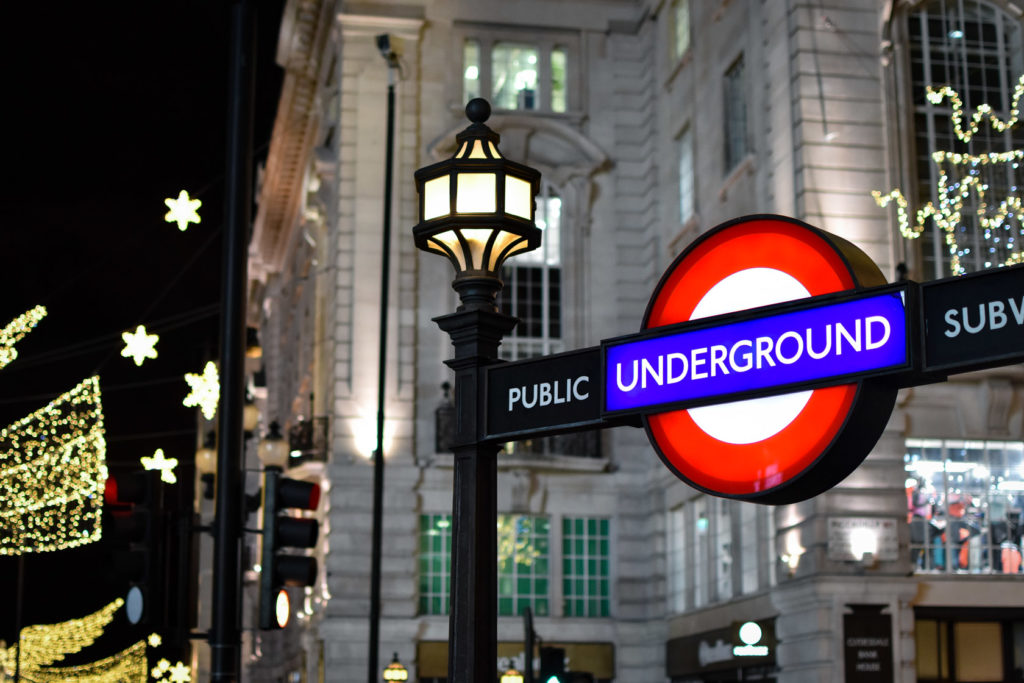
My first experience was in a really touristy, shop filled, area of London so people were pretty much everywhere. I found it much easier to try and spot little interactions or interesting compositions and shoot without people noticing me too much.
If you are going to be close to your subjects (my lens choice definitely forced me to be) act as natural as possible. As I mentioned above, this is a lot easier to do if you’re in a crowded area with a lot of other people wandering around with cameras. I know some street photographers like to pretend that they’re looking for someone, sneak their shot, and then wander off as if they’ve found their friend. If you’re not an Oscar winner, and your acting skills leave a lot to be desired, maybe just stick with being calm and getting your shot quickly before moving on.
Don’t feel pressured to TAKE ALL THE PHOTOS. Take your time. Yes, most of us will come away from a 3 hour street session with around 650-800 shots, but you really don’t have to take that many. It’s very easy to fall into the ‘spray and pray’ method of shooting when you’re in a new area or trying to capture as much as possible in a small space of time.
Feel free to take your time to get a feel for the area you’re in, and find subjects and situations that register with you. I really struggled when I first started working in my first street session. I took my time to wander away from the group a little (not too far) and look at my surroundings before choosing what I wanted to take a photo of. It really kept me calm, and helped me focus on spotting much smaller, fleeting moments that I’d have missed if I’d been shooting everything in sight. Don’t compromise your own style or ways of working just because you’re around others who do things in a particular way.
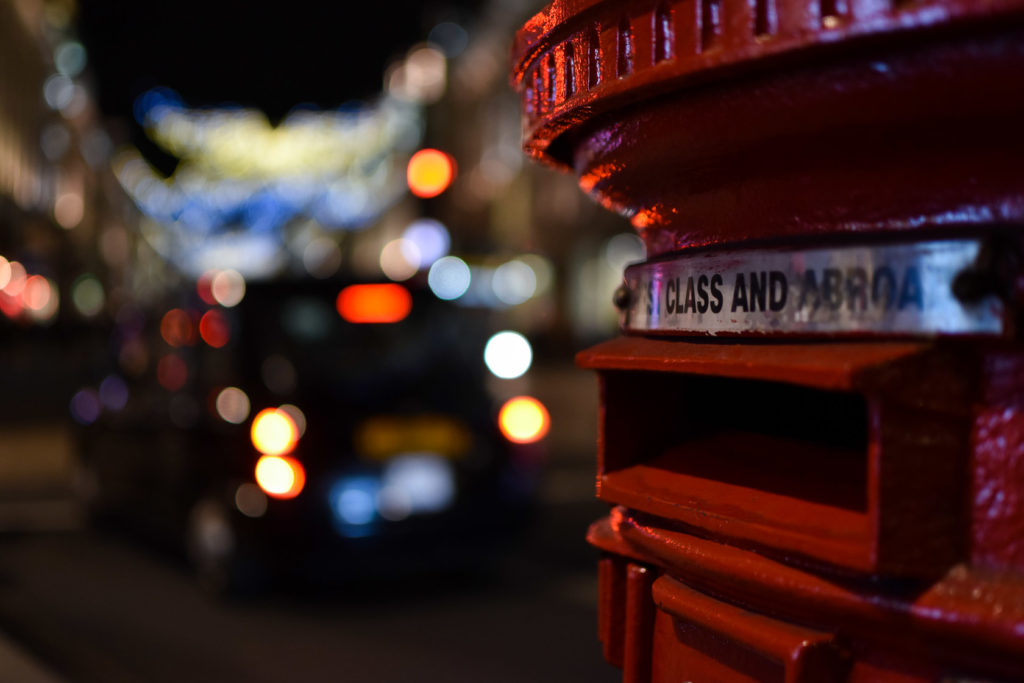
This is slightly along the same lines but remember to think about your composition and framing. No, you won’t have time to perfectly plan your shot and, yes, you’ll most likely need to adjust it in post, but when you’re aware of your framing it makes the final editing process much easier. Remember your classic ‘rule of thirds’, look for interesting backgrounds and elements of the location you’re in (this could be a wall, doorway or even a chain link fence), and try interesting angles if you’re unable to get a ‘straight on’ shot. Sometimes it’s more about the small details rather than the bigger picture; think about the story you’re trying to tell.
Ok, camera settings – what’s best? Depending on the purpose of your shoot, you ideally want a fast shutter speed to capture clear images, freezing your subjects in time. Do keep in mind your Well that completely depends on your location and the time of your shoot.
I generally stick to the same setup for each session.
Shutter speed; I usually use a fast shutter speed to make sure that I’m able to capture very quick moments, essentially freezing time with sharp, realistic images.
Aperture; as you’re going to be using a fast shutter speed ensure you use a slightly wider aperture. I normally shoot at around 1.8 so my lens takes in as much light as possible whilst freezing whatever is in the frame.
ISO; I prefer to use a slightly lower ISO because I want to avoid as much noise as possible. Usually I stick at around 640-800 but if I’m in a situation where I need to work on a ridiculously fast shutter speed I’ll increase this up to around 1250.

Lastly, and most importantly are the two ‘S’s of street photography; spares and snacks. I always make sure I carry a spare battery and memory card. It’s also worth making sure you have a micro fibre cloth in your bag to keep your lens clear as you’ll be working outside. I never know how long I’ll be working on a street session, so I always take water and something like a snack bar or biscuit with me. If you don’t stay hydrated or eat you’ll feel awful and not get the most out of your shooting time.
There are so many more things that I could include in this but these are the main things that you’ll need to think about, or plan for, for your next street session. Once you have the basics covered, you’re free on with shooting and enjoying your work time.
Have any suggestions or tips that you’d like to share? Comment below!
Leave a reply