

I never thought that I’d be able to practice astrophotography. To me, it was the stuff of scientists, telescopes and the sorts of photographers that contributed to New Scientist or National Geographic.
That was until I started really paying attention to the photographers followed on social media who were making their way through our celestial neighbours one night shoot at a time. I started to see that, given the right equipment, anyone can shoot the night sky, and learn a bit about everything up there in the process!

The lens? Ok, before you step outside you need to make sure that you have the right lens. Unfortunately, your kit lens won’t cut it, and you’ll need to acquire a telephoto lens with a little bit more zoom. I spent a lot of time in various bidding wars on eBay for mine and it took more than a few auctions before I finally won! The lens I use is a Nikkor 70-300mm f/4-5.6 telephoto lens. It’s not too heavy, and more affordable than some of the telephoto lenses in market that cover a longer focal length. I managed to find mine for around £150, including two lens filters; bargain!
Tripod? Right, this is a bit of a flexible one because it completely depends on what you’re shooting. If you’re shooting the stars, you’ll need to use a slower shutter speed which makes a tripod essential to eliminate any camera shake. If you’re shooting the moon, however, you’ll need to use a faster shutter speed to avoid the whites being over balanced. That means shooting freehand is fine provided you don’t have super shaky hands.

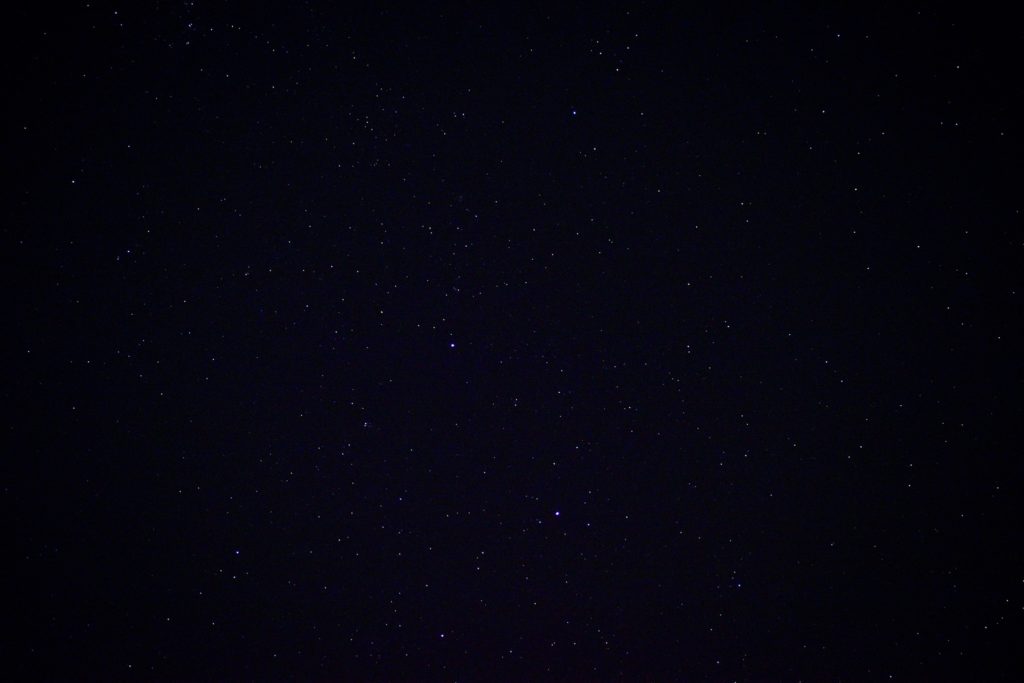
Shooting the stars? Ok, grab your tripod, camera, and get outside. You’ll need a clear evening, and not be in the middle of major light pollution. This doesn’t have to be in the sticks; I’ve taken all of my images from the comfort of my back garden with streetlights on nearby. I do turn off my living room and kitchen lights to make sure the garden is as dark as possible. It’s usually fine as long as you shoot away from artificial light.
Take the time to adjust your settings. This includes quite a bit of trial and error, but when I’m shooting the stars I usually work with the following;
ISO at 100 to make sure my camera is as desensitised to light as possible, especially because of my shutter speed settings. You also want the image to be as smooth as possible – stars are hard enough to see without needing to filter out additional noise in post!
My aperture setting completely depends on how slow my shutter is. If I’m working on a 5 second exposure, I’ll have this set at around f/4.5, but if I’m working on a 3 second exposure, I’ll increase this by a couple of stops up to f/6.3. The trick with this is to remember that longer shutter speeds mean lower aperture, or you risk over exposing your shot.
Your choice of shutter speed is down to a personal preference. If you only want to include the few brightest stars in the night sky (your Orion’s Belt or Sirius) your shutter speed only needs to be between 1.5-3 seconds long. If you want a more crowded sky, full of stars, your shutter speed will need to be longer, at around 5 seconds or so.
One thing to consider with tripod shooting, especially for long exposure shots, is that you may need to invest in a remote shutter to eliminate all risk of camera shake. However, if you don’t have one don’t worry! I still use the delayed shutter on my camera, which captures the image around 10 seconds after you’ve pressed the shutter button.
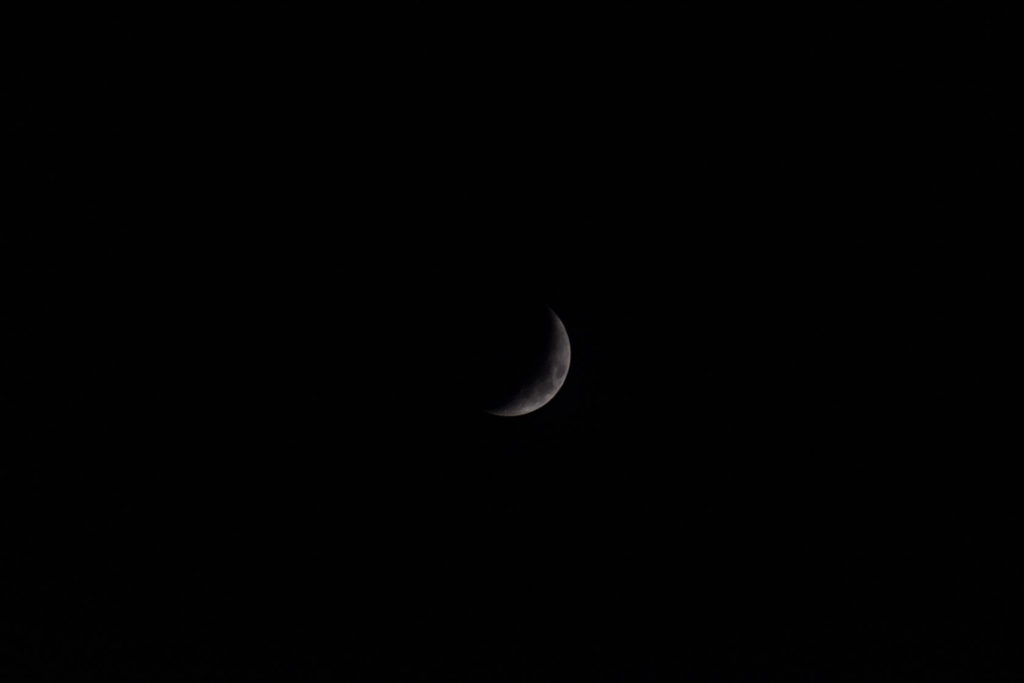
Wanting to shoot for the moon too? No worries! Not sure whether you want to use your tripod or not? No worries about that either. Your settings will need to change slightly because you’re focusing on one hugely bright object rather than thousands of tiny ones.
I usually keep my ISO down at 100; you’d be surprised at how bright the moon appears considering it has no natural light of its own.
My aperture setting depends on 2 factors; the phase of the moon and my shutter speed. If I’m shooting a full moon, I keep my aperture narrow and anywhere up to f/13, but if I’m shooting a half or quarter moon, I’ll widen my aperture to around f/6.
Shutter speed for shooting the moon is much quicker compared to what you need when you’re trying to capture the stars. I usually set mine up at around 1/160 but you might need to slow this down if you’re shooting a crescent moon because they’re slightly dimmer and have some areas of really strong contrast that you won’t want to lose.
I always take my images over to Adobe Lightroom to edit as there’s always loads of detail that you can bring out in post. There are no set rules for doing this either, and my way isn’t necessarily right but it works for me.
Editing images of the stars? I always increase the exposure but reduce the contrast. I also increase the highlights and whites and reduce the shadows and blacks, this way it brings out more of the smaller stars not visible in the original image. My personal editing style is more towards deep, rich colours so I try to bring out the midnight blue tones of the night sky in my astrophotography. To do this, I amend the overall white balance to a colder, blue tone, and up the vibrancy and saturation.
Editing images of the moon? I tend to reduce the exposure and increase the contrast. I also drop the highlights slightly, but increase the shadows, blacks and whites. This all helps to bring out the detail of the moon’s surface, so you can see the different land areas and craters. As with the stars, I prefer deeper colours, so I tweak my white balance to a colder, whiter image to increase the contrast between the moon and the night sky.
As a general rule across both types of image I increase the clarity and dehaze levels, and sharpen the image slightly, to ensure I’ve included as much detail as possible in the final image that would have been lost with the original version.
And that, fellow photographer, is it! The universe is one great mystery but capturing it shouldn’t be.
Leave a reply