

We’ve all been there; you finally finish a shoot, get back to the laptop to start editing and suddenly realise that you’ve somehow lost some work. Yeah, it happens to all of us; you double check the cards you used, your work folders, then your stomach drops and you instantly start panic planning a ‘fix’.
This has only, very luckily, happened to me once but if it happened again I’d most likely react in exactly the same way. We’re only human after all!
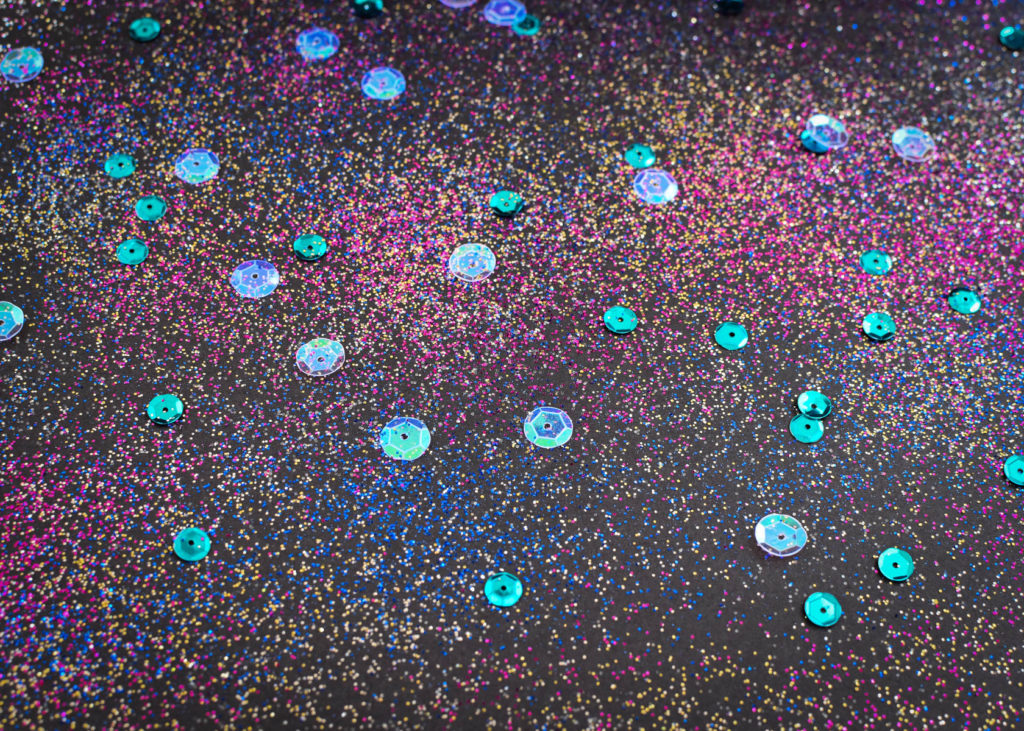
What happened? Remember the burlesque shoot from this post? There was a bit of discussion around who would feature on the cover. We weren’t keen on choosing just one model (and putting all 12 on the cover would look a little silly) so I decided to make use of the glitter and take some still life images of glitter instead. It was fair for everyone, and pretty easy to do.
Well, that was until I started editing and couldn’t find my precious glitter images anywhere! Cue panic.
Once my panic was over I knew I needed to recreate the photos I’d lost. Although I have my own studio space, I didn’t really want to set the studio up again just to take a few photos of glitter. I decided to improvise instead. Here’s a little bit about the tiny set I made, the lens I used, and how I edited my final images.
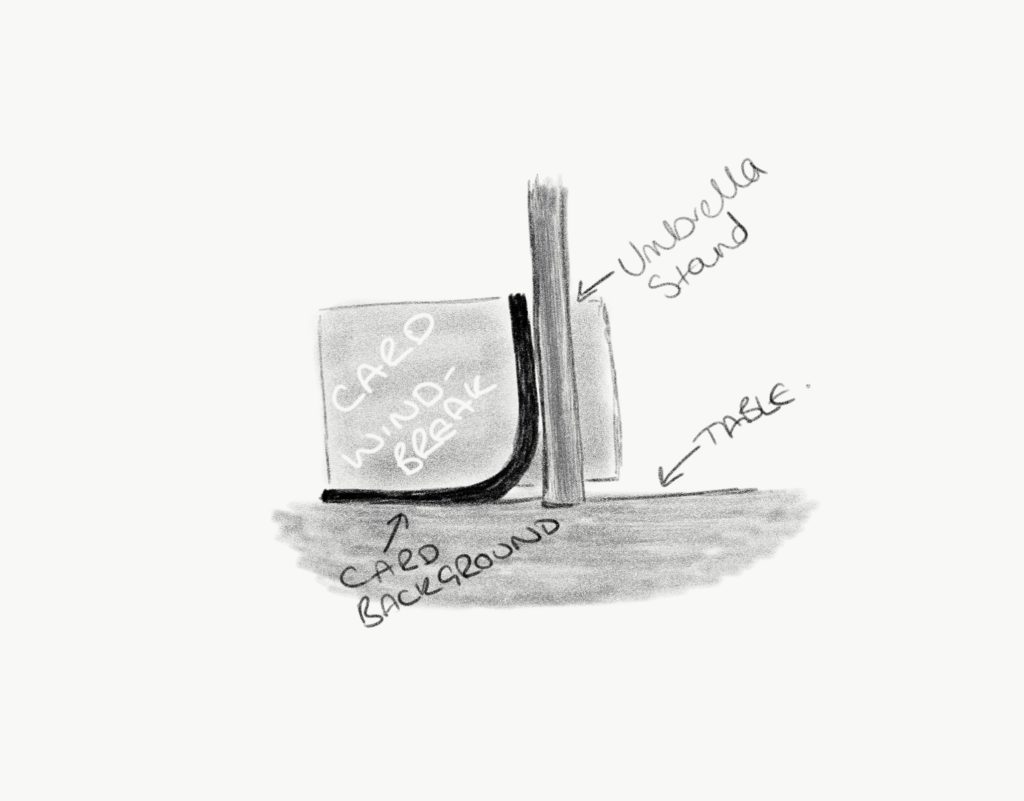
THE SET; Firstly I created my own mini studio in my garden. Well, on the garden table to be precise. A3 black card is a life saver; I simply created a curved backdrop with a piece of card that I, very carefully, sellotaped to the garden umbrella and table. It creates an ‘infinity’ background, and is exactly the same as what I use in my own studio. It was a little windy so I also used a 3rd piece as a windbreak to keep from having glitter flying everywhere. Please appreciate my art abilities (thanks Adobe Sketch for iPad) in the below diagram:
Guys, Hobbycraft is honestly a place of wonders. I managed to find all the card and glitter I could possibly need and it wasn’t really that expensive.
COLOUR BALANCE: Although it was really bright outside, being under the umbrella, and shading half of the small set with a ‘windbreak’ piece of card, completely threw off my white balance (everything had a yellow tone) and the overall vibrancy of the image. It looked pale and flat, and also like a lot of effort to edit in post. To combat this, I used a gold reflector to direct some brighter light on to my set to brighten the colours and saturate it a bit more. Of course, I had assistants in the shape of my mum and my gran (I like to get everyone involved!), so I mainly did a lot of directing and shooting for this part.
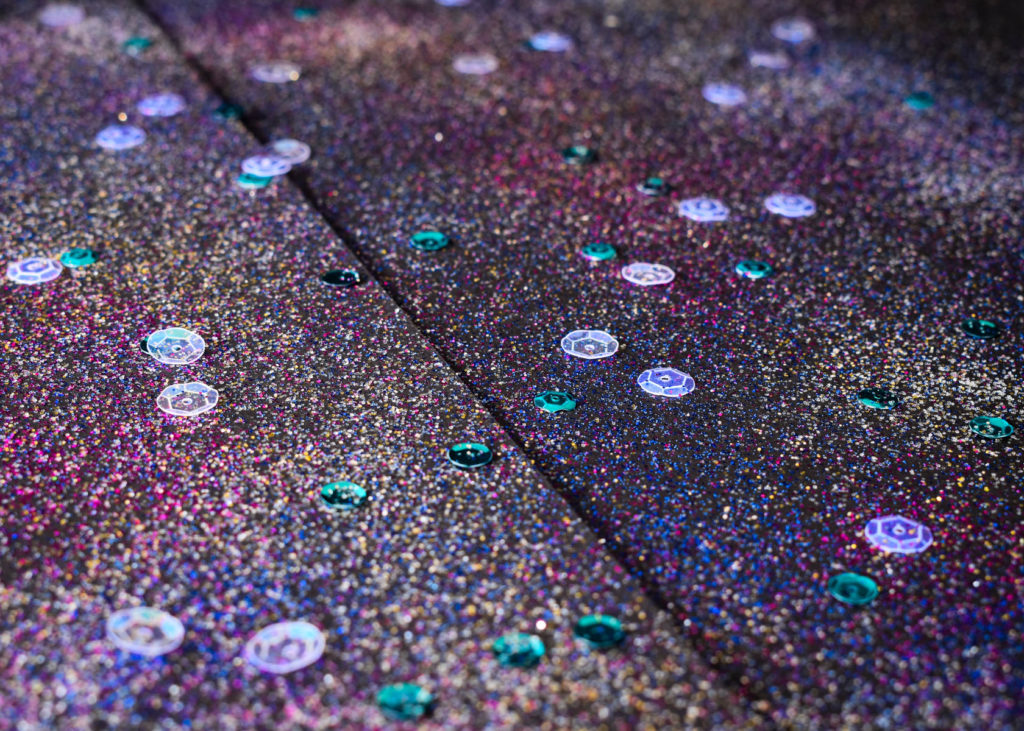
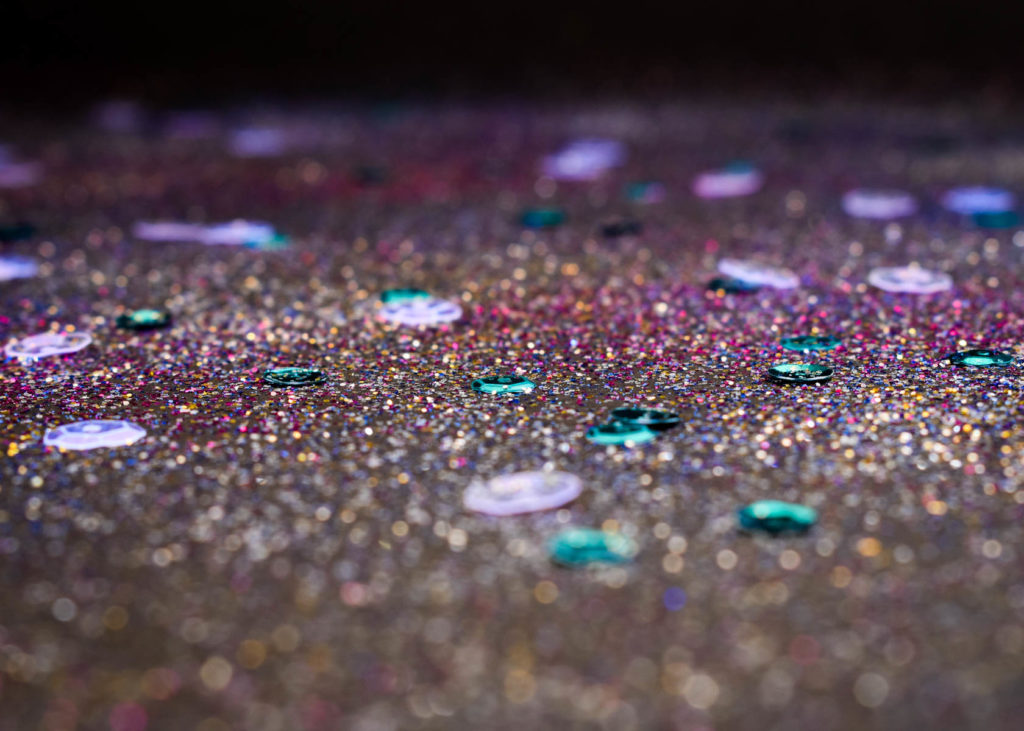
THE LENS: I chose to use my 35mm lens for this set of shots. I wanted to have a small focus point, and work with a slightly smaller depth of field. I focussed on the centre of my composition so that the to and bottom of the image were blurred. If you wanted this effect in post, it’s the ‘in lens’ equivalent of a radial filter. Also, I was conscious that my ‘set’ was really small, so I wanted to make the image feel bigger and vary the textures in it.
THE EDIT: I don’t usually know what my final image will look like, I’m not a ‘post’ planner at all, so I find it easier to take a selection of final options over to Lightroom and just see what happens as I go. Despite shooting a ton of images, I restricted myself to just 3 final options.
Because the calendar content was bright, I wanted to keep the deep colours and high contrast of the glitter to match all of the other images I’d taken. As always, I took the images over to Lightroom to adjust. I decreased the exposure, enhanced the contrast, increased the whites very slightly and took the blacks down first. Then I increased the blues in the white balance, and nudged the vibrancy and saturation up slightly. Because of the colours I’d used, it gave the image a sort of ‘moody mermaid’ feel, and that’s not a sentence I ever thought I’d get to write…
If you ever end up in the situation where you’re missing images and have to make up for the lost work don’t panic! There’s always a way to improvise a set or background, a way to help recreate your lighting setup, and always a craft shop nearby; don’t forget that everything is fixable.
And that’s a sentence I always try to write.
2 Comments
Clever. 🙂
Thanks! It’s so easy to overcomplicate trying to fix things or create a duplicate set away from the studio. Hope this has helped!